Importing and Exporting in TinkerCAD
Importing an STL Into TinkerCAD
Step 1
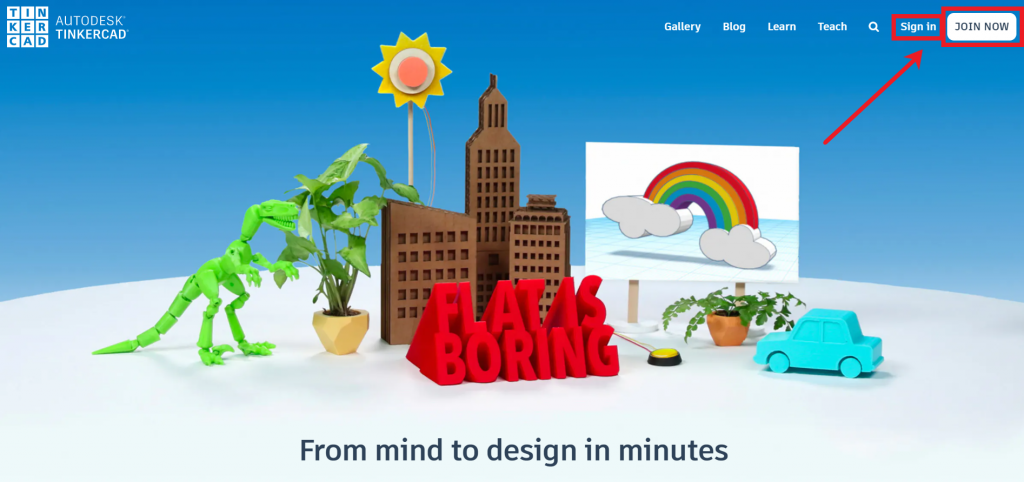
To use TinkerCAD, navigate to the TinkerCAD website. TinkerCAD is an autodesk product, and requires an account to use. If you have an Autodesk account already, you can click the “Sign In” button in the top right to get started. If you do not have an account, click the “Join Now” button in the top right to create a personal account. Creating an account is free and only requires a valid email address.
Note: when making a new account, make a new personal account and not an educational account.
Step 2
After logging in, it will show a dashboard with previews of your TinkerCAD projects. If you just created an account, there will be no pictures. To get started, click the “Create new design” button near the top of your dashboard.

Step 3
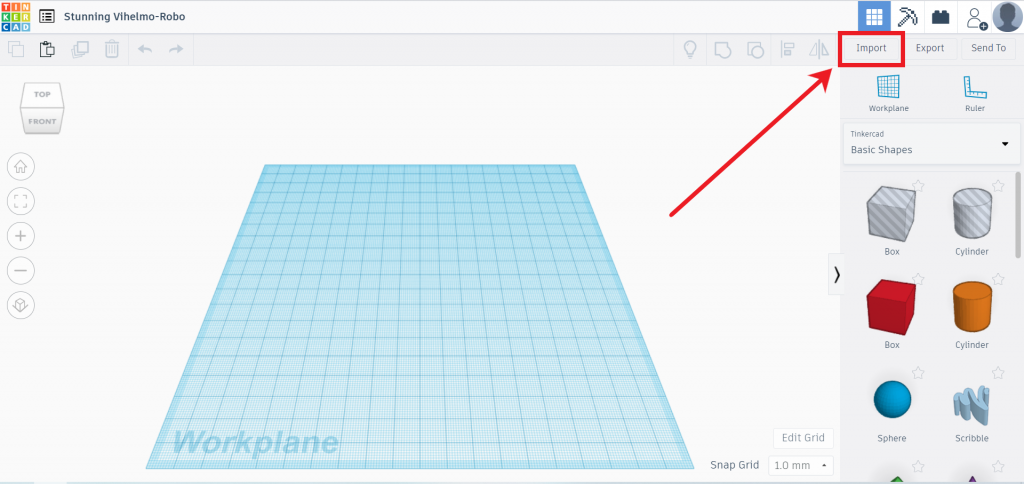
This will bring up a window with a workplane, some shapes on the right, and some other options spread around. Right now, we are only going to focus on importing an object. To import an object, click the “Import” button in the top right of the page.
Step 4
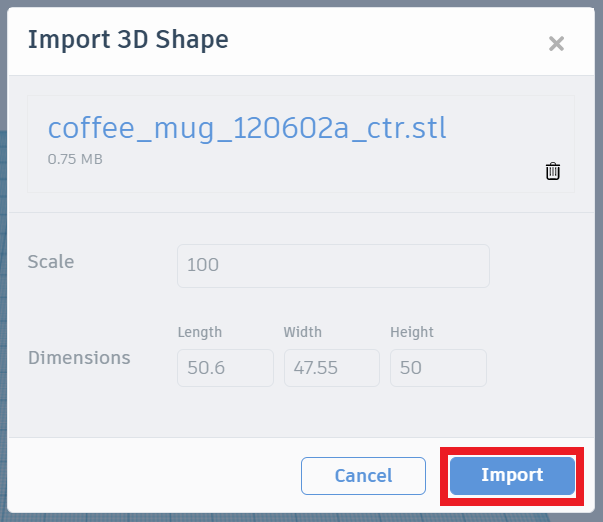
This will bring up a window to drag and drop a file, or to import from a URL. Since you downloaded an STL from thingiverse earlier, you can just open your downloads folder and drag-and-drop your file into the window. Most 3D objects are in the .stl file type. Once you do this, click the “Import” button in the bottom right of the window to import it. Note: there is a maximum file size of 25 MB. If your file is larger than this, consider choosing a different model to import.
Step 5
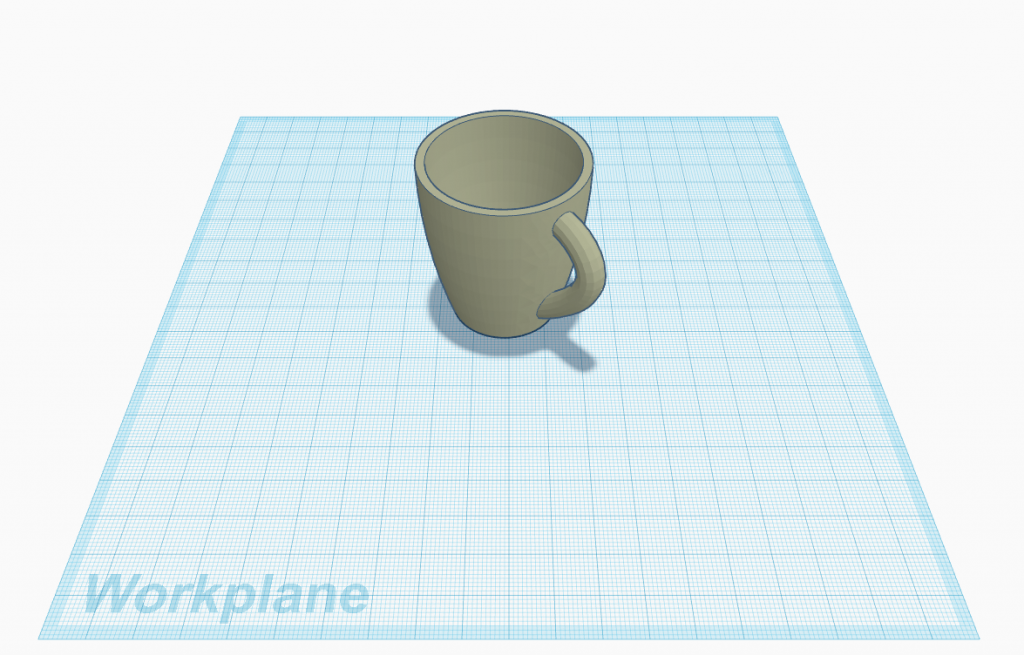
After that, the object is loaded in and you should see it in the workplane. You can rotate the camera by holding the right mouse button and dragging the mouse. Zoom in/out by moving the scroll wheel. More detail on how to navigate the workplane can be found in the Navigating the Workplane tutorial.
Exporting as an STL From TinkerCAD
Step 1
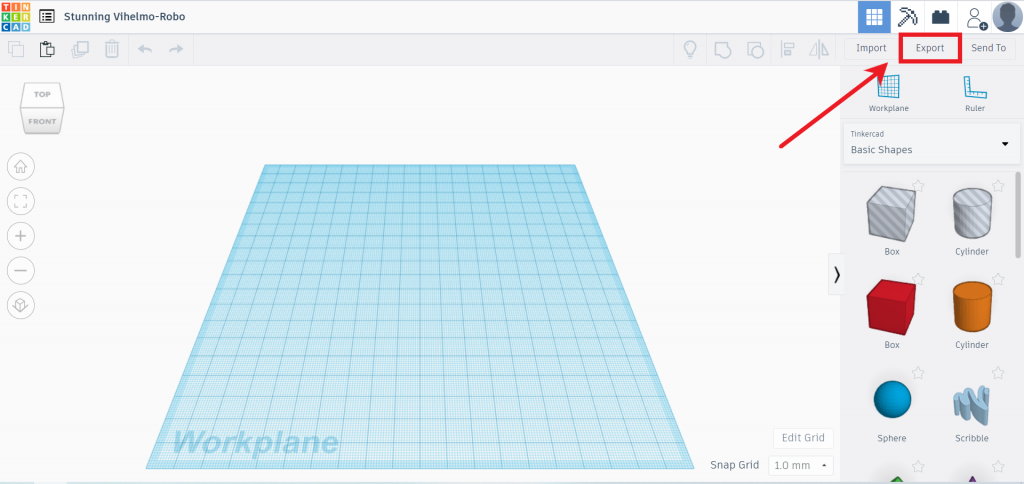
When you are finished designing or editing in TinkerCAD and are ready to start printing, you can export your object as an STL from TinkerCAD. To do this, click the “Export” button in the top right of the screen.
Step 2
This will open a new window with details on how to export. In the “For 3D Print” section, click the .STL box to export it as an STL file.
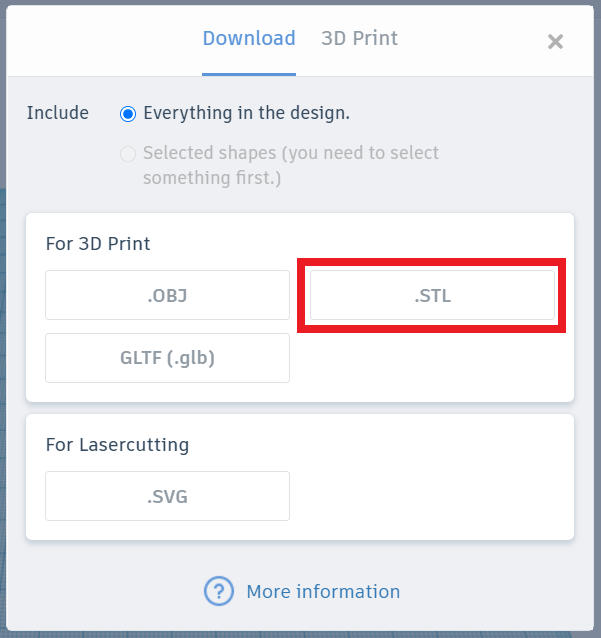
This will download your TinkerCAD object as an STL file. This is the easiest way to export your object as an STL to be printed later.