Hayden Golay, Amy Vecchione, Zane McCarty, Mason Francsak
Project Start Date
October 2019
Introduction
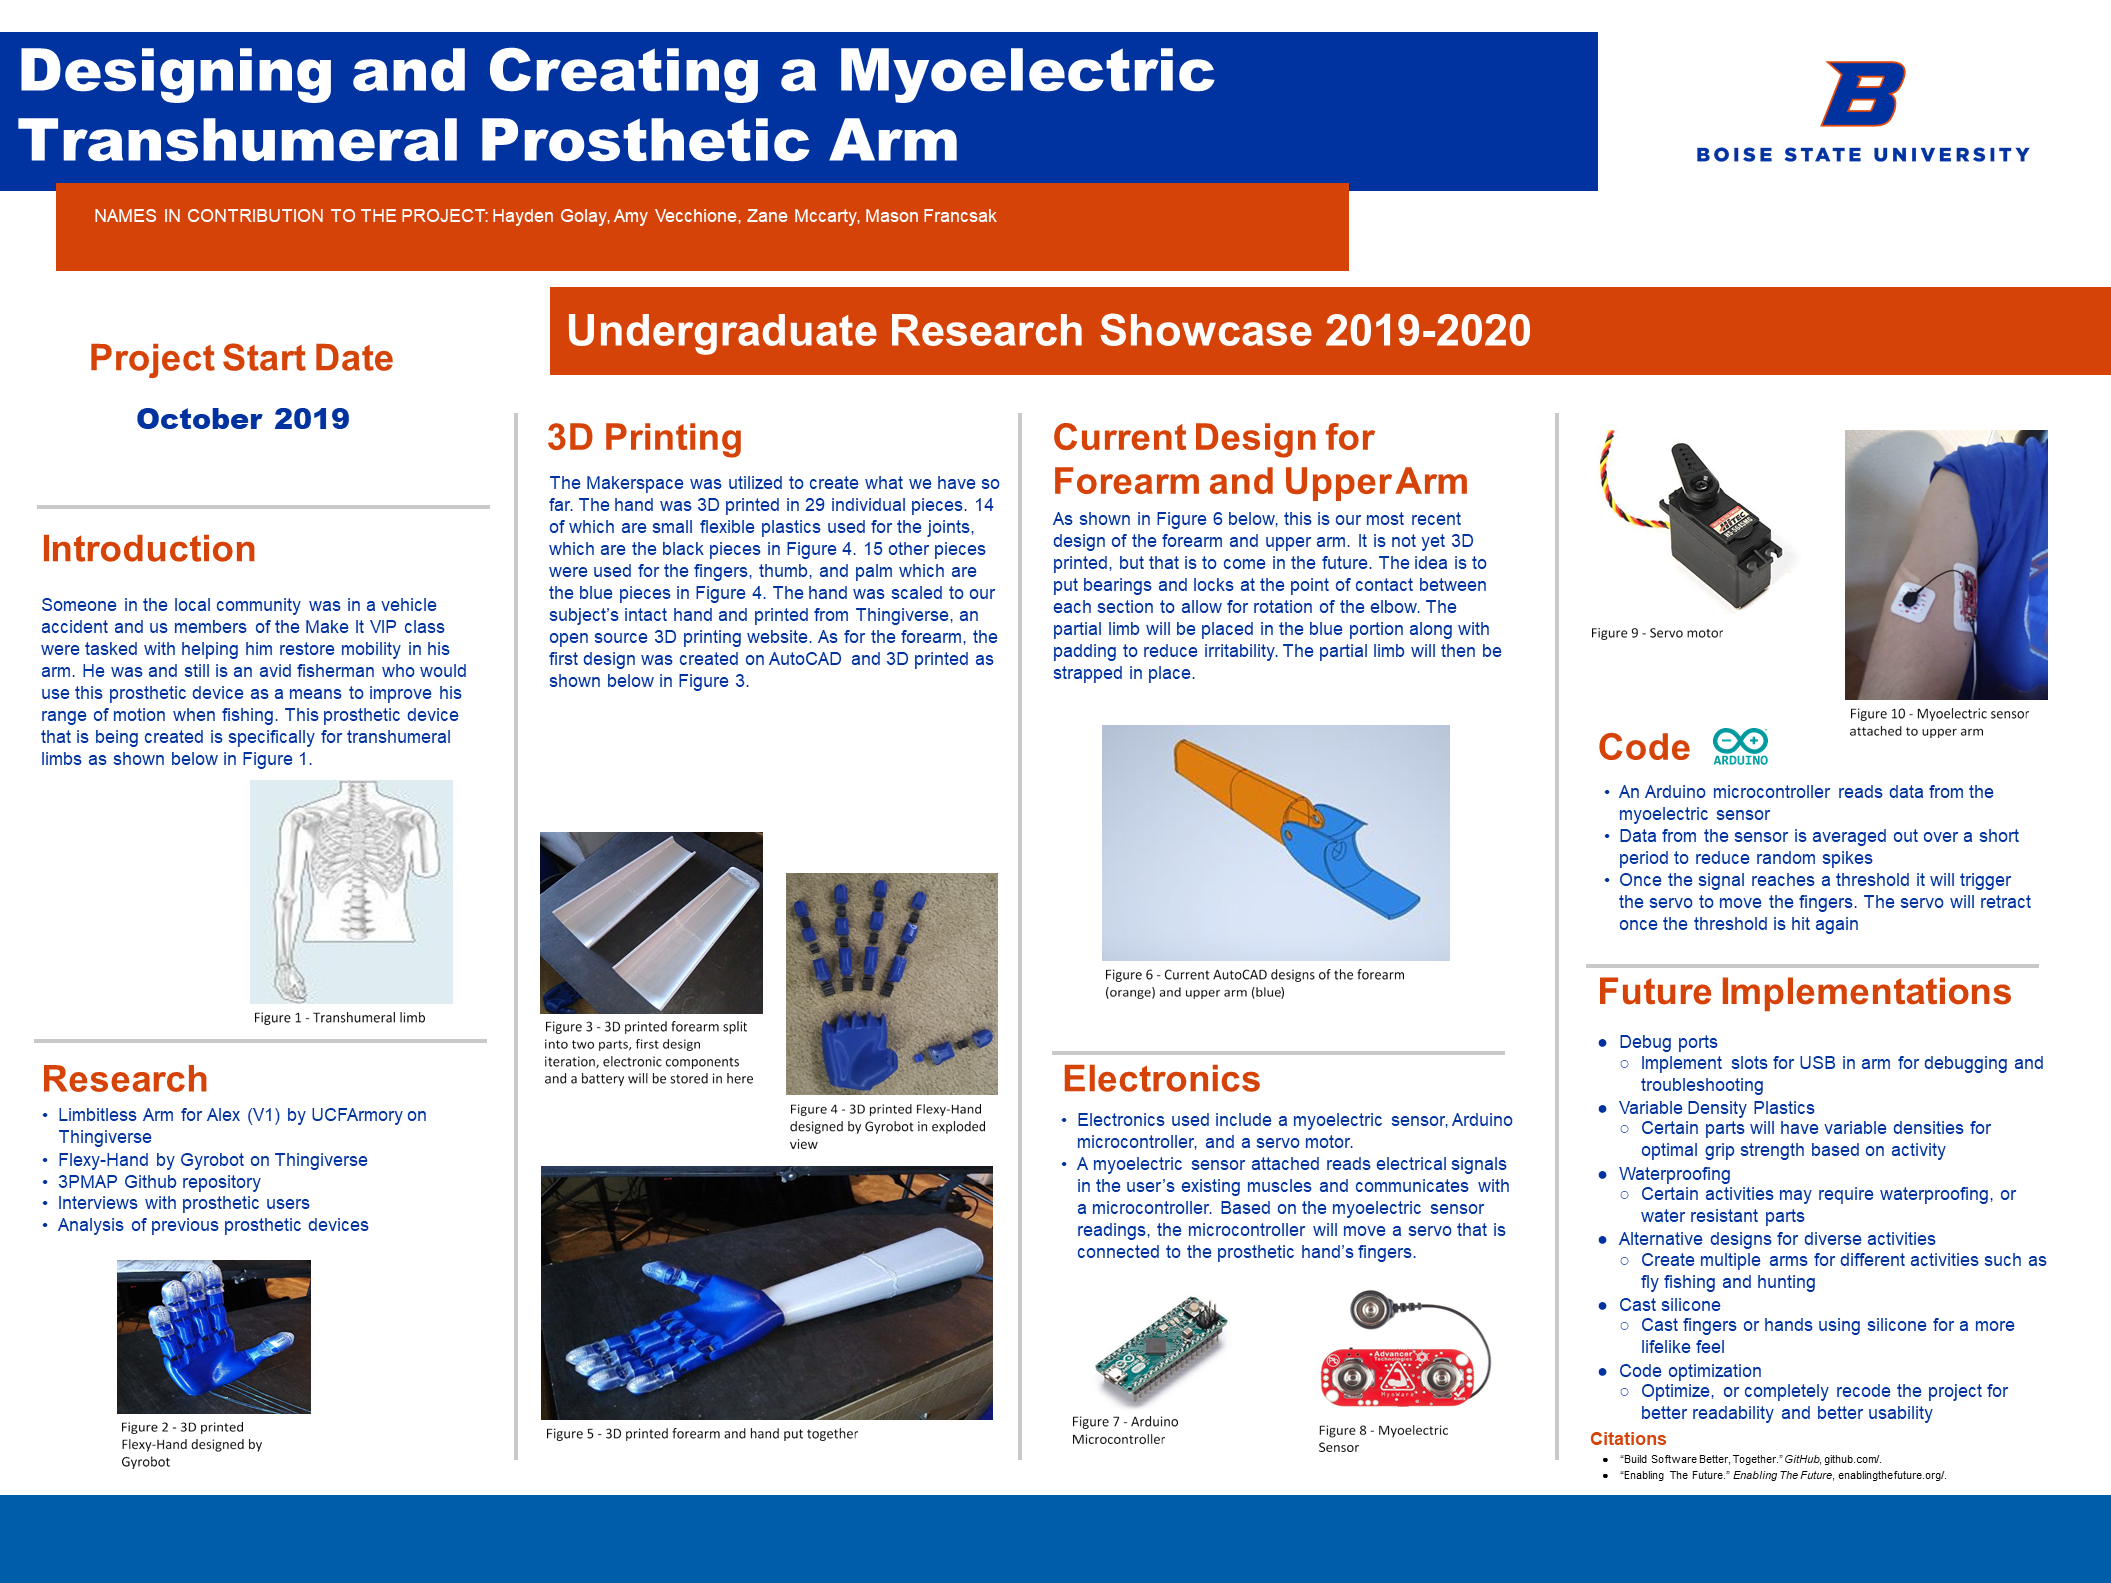
Someone in the local community was in a vehicle accident and us members of the Make It VIP class were tasked with helping him restore mobility in his arm. He was and still is an avid fisherman who would use this prosthetic device as a means to improve his range of motion when fishing. This prosthetic device that is being created is specifically for transhumeral limbs as shown in Figure 1.
Research
- Limbitless Arm for Alex (V1) by UCFArmory on Thingiverse
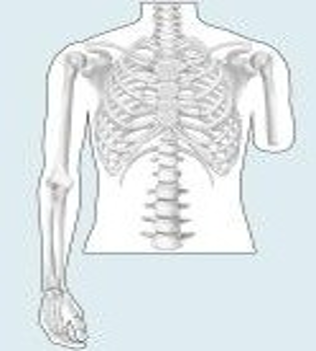
- Flexy-Hand by Gyrobot on Thingiverse
- 3PMAP Github repository
- Interviews with prosthetic users
- Analysis of previous prosthetic devices
3D Printing
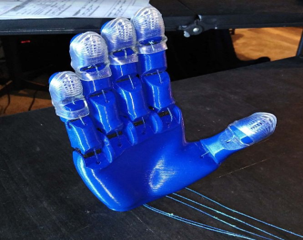
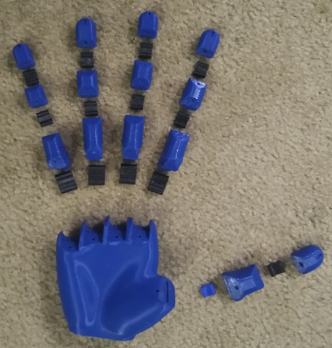
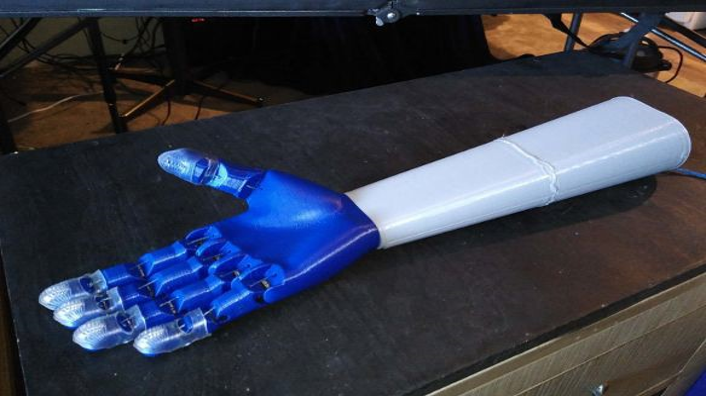
The Makerspace was utilized to create what we have so far. The hand was 3D printed in 29 individual pieces. 14 of which are small flexible plastics used for the joints, which are the black pieces in Figure 4. 15 other pieces were used for the fingers, thumb, and palm which are the blue pieces in Figure 4. The hand was scaled to our subject’s intact hand and printed from Thingiverse, an open source 3D printing website. As for the forearm, the first design was created on AutoCAD and 3D printed as shown in Figure 3.
Current Design for Forearm and Upper Arm

As shown in Figure 6, this is our most recent design of the forearm and upper arm. It is not yet 3D printed, but that is to come in the future. The idea is to put bearings and locks at the point of contact between each section to allow for rotation of the elbow. The partial limb will be placed in the blue portion along with padding to reduce irritability. The partial limb will then be strapped in place.
Electronics
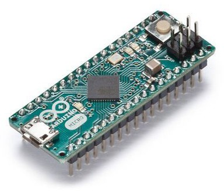
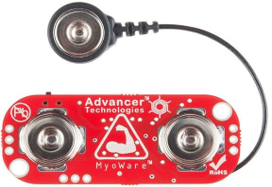
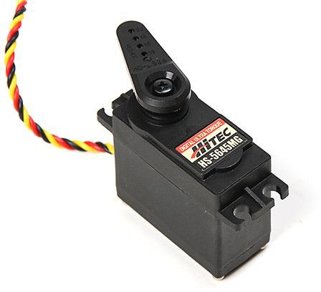
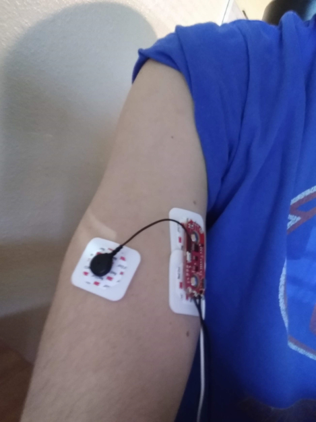
- Electronics used include a myoelectric sensor, Arduino microcontroller, and a servo motor.
- A myoelectric sensor attached reads electrical signals in the user’s existing muscles and communicates with a microcontroller. Based on the myoelectric sensor readings, the microcontroller will move a servo that is connected to the prosthetic hand’s fingers.
Code
- An Arduino microcontroller reads data from the myoelectric sensor
- Data from the sensor is averaged out over a short period to reduce random spikes
- Once the signal reaches a threshold it will trigger the servo to move the fingers. The servo will retract once the threshold is hit again
Future Implementations
- Debug ports: Implement slots for USB in arm for debugging and troubleshooting
- Variable Density Plastics: Certain parts will have variable densities for optimal grip strength based on activity
- Waterproofing: Certain activities may require waterproofing, or water resistant parts
- Alternative designs for diverse activities: Create multiple arms for different activities such as fly fishing and hunting
- Cast silicone: Cast fingers or hands using silicone for a more lifelike feel
- Code optimization: Optimize, or completely recode the project for better readability and better usability
Citations
- “Build Software Better, Together.” GitHub, github.com/.
- “Enabling The Future.” Enabling The Future, enablingthefuture.org/.
Additional Information
For questions or comments about this research, contact Hayden Golay at haydengolay@u.boisestate.edu.