Video Transcript – How to Create an Account Username and Password (FSA ID)
Video Transcript
[Music plays]
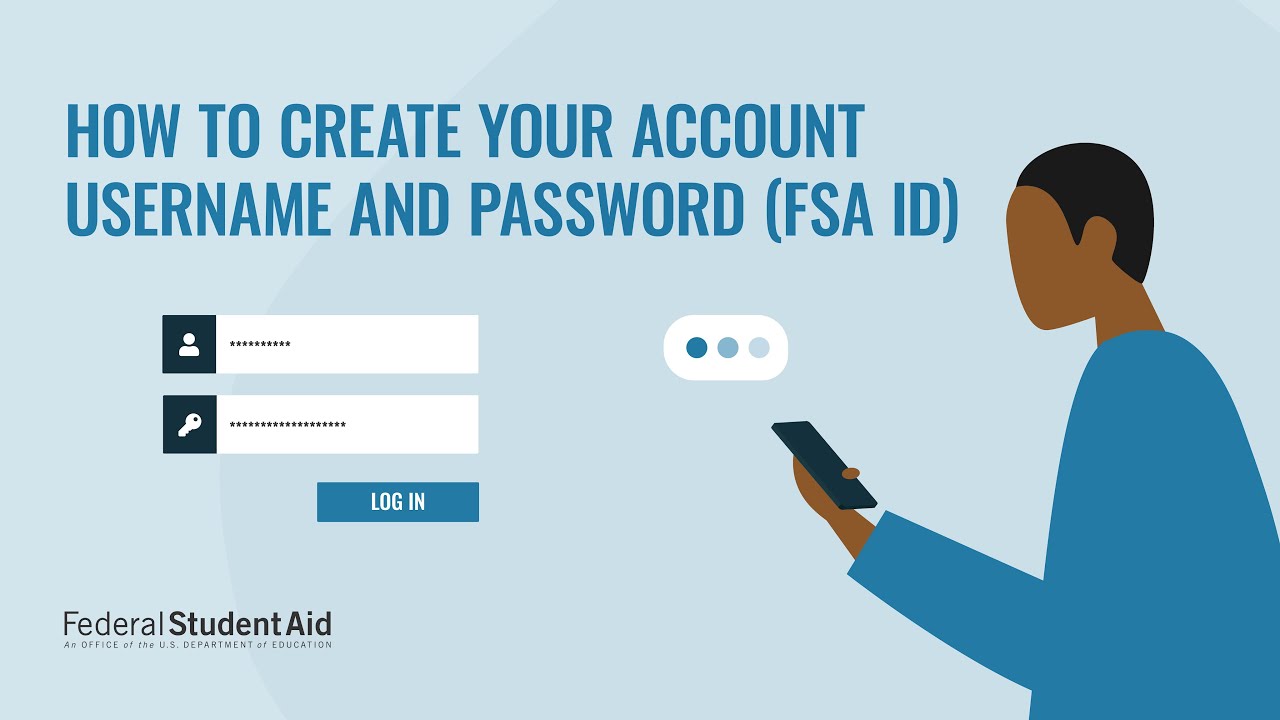
[Narrator]: Perhaps you’re a student, parent, or loan borrower who needs to apply for financial aid, electronically sign your FAFSA® form, or access other benefits on StudentAid.gov. To take full advantage of all our resources and log in to StudentAid.gov, you’ll have to first create an FSA ID. Your FSA ID gives you access to Federal Student Aid’s platform, and can serve as your legal signature. Your FSA ID is your account username and password. To prepare to create your FSA ID, have your Social Security number, mobile phone and or your personal email address handy.
To start, navigate to StudentAid.gov and select create account. Once you’re on the create account page, select the get started button. If you are completing a FAFSA form and are considered a dependent student, keep in mind that you will need to create your own separate FSA ID using your own personal information. A mobile phone number, email address, and Social Security number can be associated with only one FSA ID. For helpful tips throughout the FSA ID creation process select the question mark icons that display next to each field. Next you’ll create your username, enter an email address and create your password. We recommend not using your school based email address since you will need to access your Federal Student Aid account after you graduate. Make sure you don’t include private information such as your name or date of birth as part of your password. Quick tip: remember an email address can be associated with only one username and password.
Next, enter your permanent address and mobile phone number. Indicate if you want to use your mobile phone for account access. We highly recommend this option as it allows you to use your mobile for two step verification and will help you access your account if you forget your username or password in the future. After selecting continue, you’ll be prompted to choose your communications preferences. On the communications preferences screen select if you’d like to receive required communications from us via email or by postal mail. We recommend email. Besides the required communications, we’ll occasionally send you informational communications about grants, student loan forgiveness or income based repayment plans you may qualify for. You can opt to receive these by email, text message, or both, or choose not to receive informational communications. You’ll also have the option to select English or Spanish as your preferred language for the communications we send you.
Next, you’ll select four challenge questions and answers. Memorize or keep these answers in a safe place in case you need them to help access your account in the future. Choose a question using the dropdown and add your answer in the text box. Select show answer to see your answer as you type it. Your answers are not case sensitive. You’re almost there. On this step, you can review your information and confirm everything looks correct. If you need to make a correction, select the edit button within that tile of information. After ensuring your information is correct, review and agree to the terms and conditions at the bottom of the screen.
Now you’ll add two step verification to safeguard your account. Whenever you sign in, we’ll send a secure code to make sure it’s really you. You can choose whether you prefer email, text message, or an authenticator app. We’ll begin with your phone number. Select the verify button under SMS verification. You will automatically be sent a six digit secure code. At the same time, a pop up window will open. Enter the code and select the continue button. You’ll see a green verified icon appear that tells you you’re successful. Next verify your email address. Select the verify button. You will automatically be sent a six digit secure code. At the same time a pop up window will open. Enter the code and select the continue button. You’ll see the same
verified icon confirming that you’ve verified your email. You’ll also see a green box confirming that your two step verification is ready to go. We also suggest setting up an authenticator app
which provides the most security of the two step verification methods. Select set up an authenticator app. A pop up window will open, follow the steps you see there. First download an authenticator app from a mobile app store or use one you’ve already downloaded. Next, you can either scan the QR code with your authenticator app or copy the key into your authenticator app.
Then select continue. Another pop up window will appear. Enter the secure code generated by your authenticator app and select the finish button. You’ve done it. Two Step verification is enabled.
But what if you’re in a situation where you can’t use the other two step verification methods? Don’t lose heart. You can use a backup code. Your backup code is generated automatically when you enable two step verification. Store your code in a safe place until you need it.
Congratulations, you’ve successfully created your FSA ID. If you entered an email address, you will receive a confirmation email. Make sure you note your username and password and keep them in a safe place. You can begin using your account immediately, but it will take one to three days for your information to be verified by the Social Security Administration. Some of your actions in the site will be limited until your information is verified. However, with your newly created FSA ID you can immediately complete and sign a first time FAFSA form. You can also use your FSA ID to access your dashboard, review your loan balance, and explore additional dashboard features. You are now able to take control of your Federal Student Aid journey and access all StudentAid.gov has to offer.
[Music plays]