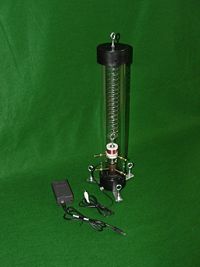
1. Remove sensor components from box.
The box should contain:
- Acrylic tube body of the sensor
- ABS cap to body
- Eyebolt magnet assembly
- NERdaq electronics box with RCA and USB end adapters
- Parts for base of sensor assembly – 3 aluminum legs, 3 small screws, 3 eyebolts and 6 nuts for the base of the sensor
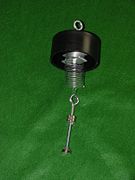
2. Remove top ABS cap containing spring. Hook eyebolt containing magnets over bottom of spring (Fig. 2).
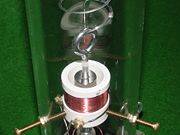
3. Insert and lower the magnet assembly into top opening of acrylic tube. Ensure ABS cap sits snugly on tube, but do not force it or damage tube. Position magnet assembly inside white coil and copper damper. Top of magnet assembly should be even with top of white coil body. One magnetic pole should be inside coil body and one magnetic pole outside.
4. Damper magnet height should be about even with the top of copper damper tube. Heights are set before shipping, but if correction is needed, turn magnets and nuts up or down on the eyebolt.
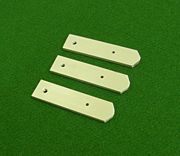
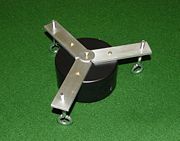
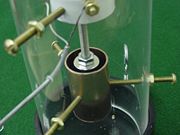
5. Attach legs to the base of the sensor by inserting small screws into the inner pre-drilled hole screwing into ABS base. Then attach adjusting eyebolts into outermost pre-drilled hole. Note, there should be nuts on each side of the legs (Fig. 7).
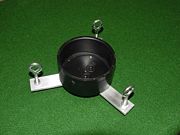
6. Use three adjusting legs on base to center magnets like a bulls eye inside coil and damper (Figs 3 & 4), with equal free space all around. Magnets must not touch inner walls, or sensor will appear to be working but will never record an earthquake. Periodically, ensure everything is still centered. The spring can stretch or turn over time, so corrections may be needed.
7. Plug sensor RCA cable into NERdaq amplifier box; plug USB cable from NERdaq amplifier box into your computer.
8. Follow instructions on installing the software needed for your TC1 Seismometer.