Adding Printer Profiles
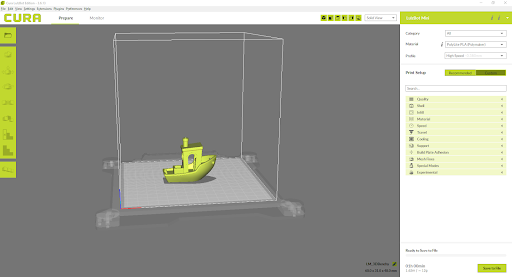
To get the most out of Cura and what the MakerLab has to offer, all of the printers that the MakerLab has available should be added to Cura. Cura will only come with one printer profile, but adding more only takes a few clicks. To start, navigate to the green bar in the top right corner with a small arrow on it.

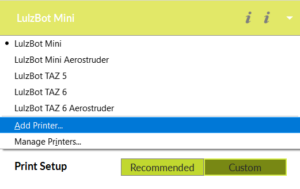
Clicking the drop-down will display the printer profiles available, as well as options for adding and managing the printer profiles. To add a printer, click the “Add Printer” button in the drop-down menu.
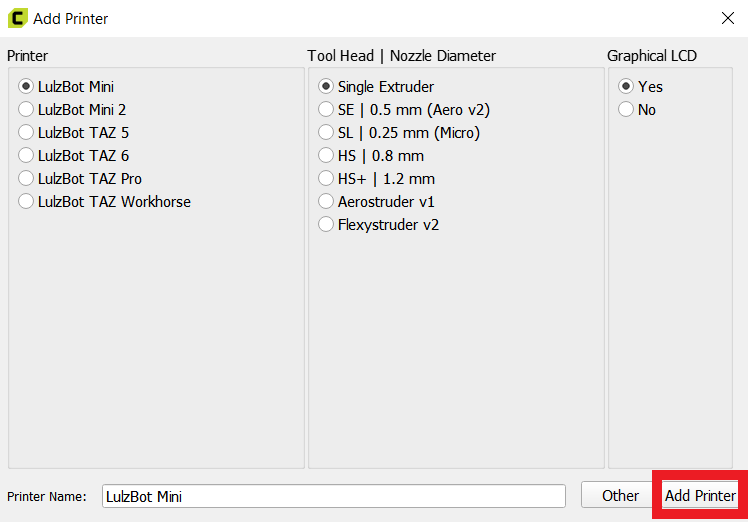
This will open a new window that displays all the available printers from LulzBot. To add a printer, you must select an option from the Printer, Tool Head/ Nozzle Diameter, and Graphical LCD categories. The following table shows a list of all the available printers in the MakerLab and their respective Cura settings.
Selecting the Correct Printer
Once you have the printer and its settings checked in the menu, click the Add Printer button in the bottom right to add it. You can also rename the printer profile in this window if you want.
After repeating this process for each printer in the MakerLab, when clicking the green bar in the top right to select a printer, it will show all the printer profiles that have been added.
Before doing anything in Cura, it is important the correct printer is selected. Slicing for the wrong printer will cause your print to fail, so make sure you choose a printer before slicing. The printer you choose should be whichever printer you plan on using at the MakerLab. Switching printers later on while changing settings will revert your settings, so make sure you know what you will be printing on. To select a printer, click the green bar in the top right of the screen with an arrow on it. This will open a dropdown menu with all the available printer options.
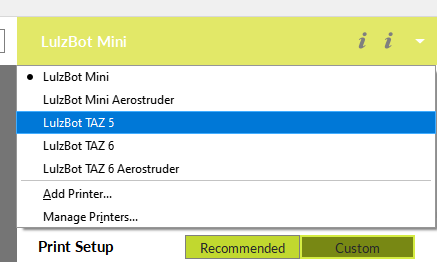
Select the option that corresponds to the printer you will be printing on. For instance, if I were printing on a mini with an aerostruder, I would select the “LulzBot Mini Aerostruder” option. If you are printing on a printer with an aerostruder, make sure you use the aerostruder version. After selecting your printer, the workspace will change to reflect the build area of that printer.
Importing 3D Objects
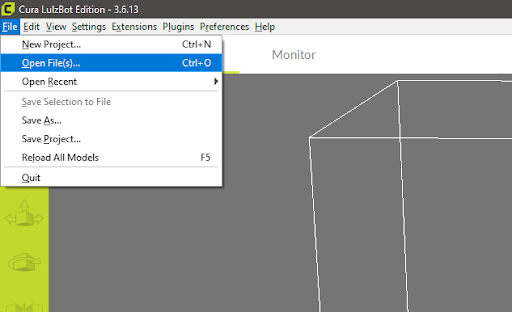
With the correct printer selected, you can import a 3D object into Cura. One way to do this is to go to File > Open File and then open the desired 3D object. Another way is to simply drag and drop the file into the Cura window.
When successfully imported, your object will appear on the build plate area. The location, size, and orientation of the object can be changed later.