Step 1
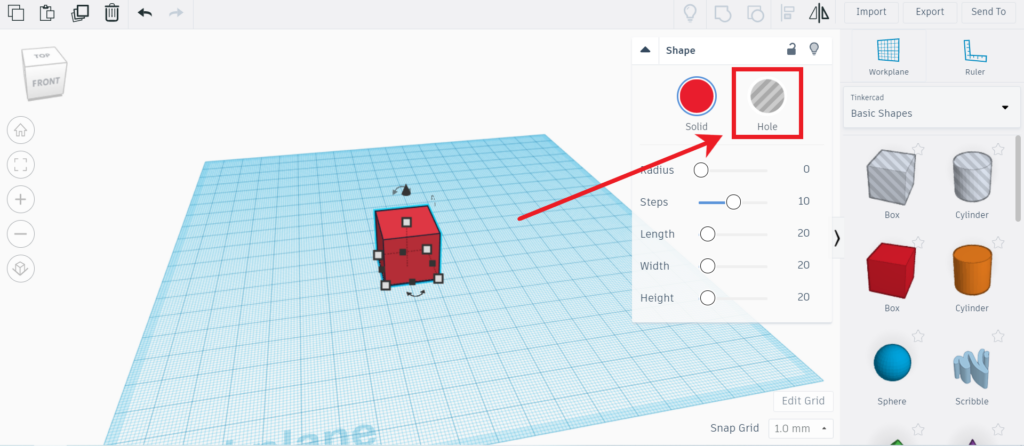
The main ways to modify existing objects, such as those downloaded from Thingiverse, is to add more material by grouping objects together, or remove material by grouping an object with a hole. A hole in TinkerCAD is a shape that when grouped with another object, will remove material instead of joining together. This is kind of like a hole punch. Everything in the path of the hole bunch will be removed. To create a hole, select an object and click the “Hole” button near the top right.
Step 2
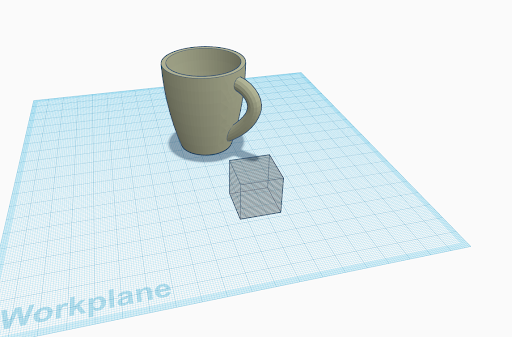
This will make the shape appear gray and translucent. To use this hole to cut, you will need another object to modify. Either create or import a new object in TinkerCAD and place it on the workspace.
Step 3
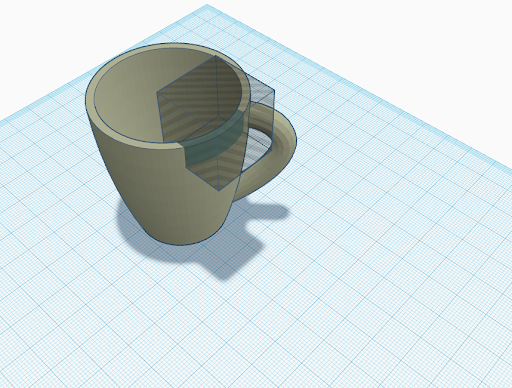
Move the hole into the object to be modified by clicking and dragging on the object, or you can use the ruler tool to get a more accurate position. Every point where the hole and the object are intersecting will be cut, so you might need to resize the hole to fit your needs.
Step 4
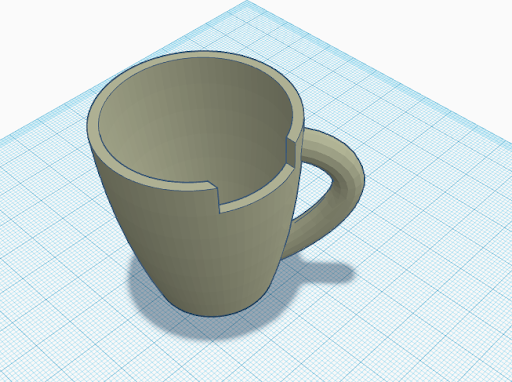
When aligned, group the two objects together using the “Group” button or Ctrl + G (explained in the combining objects tutorial). When grouped together, a “new” object will be created that is the original object with a cut with the size/shape of the hole.
Any object in TinkerCAD can be a hole, such as imported objects from Thingiverse, text, basic shapes, etc. Using a combination of grouping and holes, more advanced objects can be created and modified in TinkerCAD.