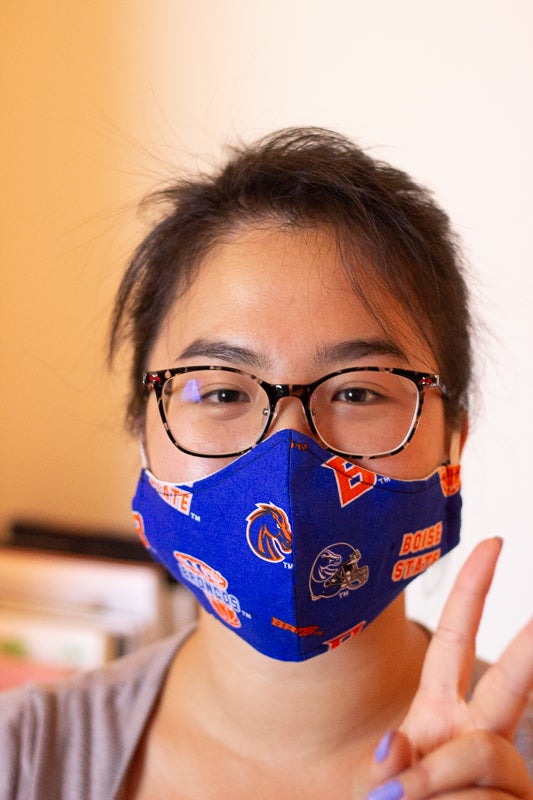
If you’re feeling crafty enough to make your own facial covering, here’s a tutorial on how to do just that. You just need a few simple materials and a sewing machine to make a reusable, washable, and very stylish facial covering.
1) Gather all the materials
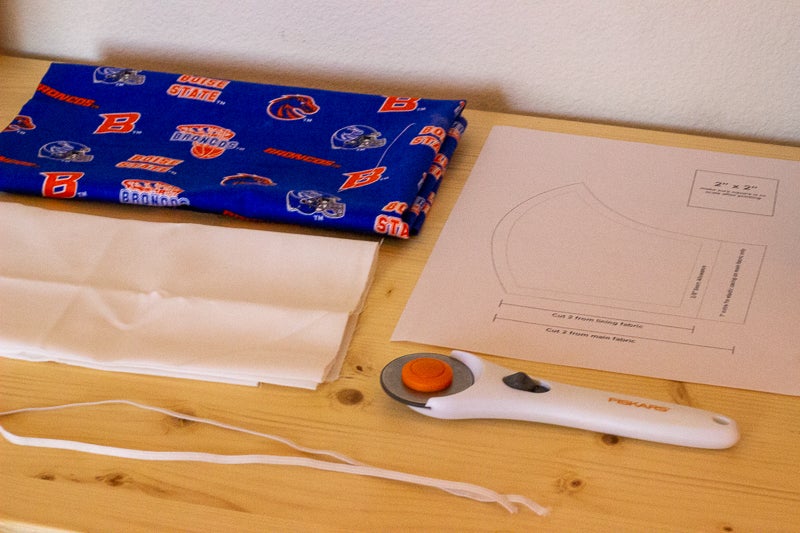
These facial coverings can be sewn by hand if you don’t have a sewing machine. You can also use any fabric you’d like, even materials from around your house.
You’ll need:
- Sewing machine (or a needle and thread)
- Iron + ironing board
- Scissors
- 20 to 24 inches of ⅛” width elastic band, cut in half
- Main fabric, at least 7” x 14”
- Lining fabric, at least 7” x 14”
- Template. Download the template we used here(PDF).
2) Cut all the pieces
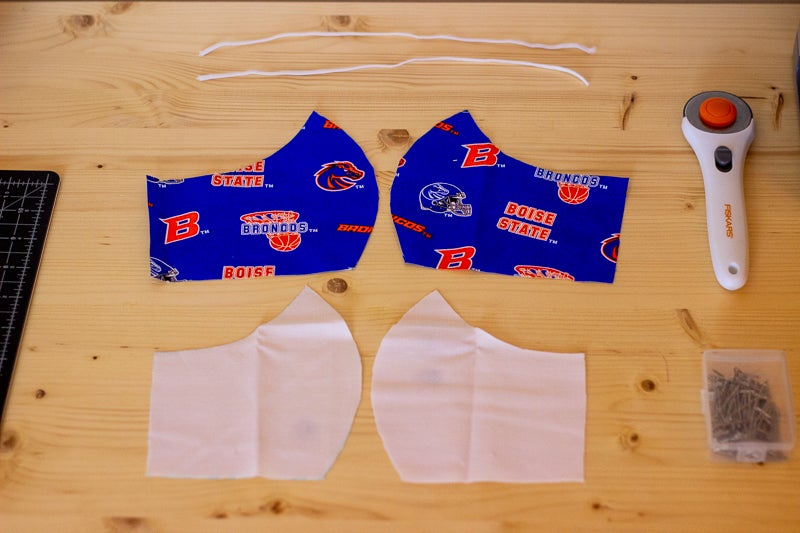
Print out the facial covering template and place it on the side of the fabric that will be facing inwards, toward your face. Cut two pieces of the larger template, which will be the main fabric of the covering. Then, you’ll see a single fold line (the 1 inch line) on the template, which shows you a slightly smaller template. Fold along that line and cut two pieces from what will be your “lining” fabric, for the inside. Cut two pieces of elastic band 10-12 inches long, depending on how long or short your facial covering should be to fit comfortably around your ears.
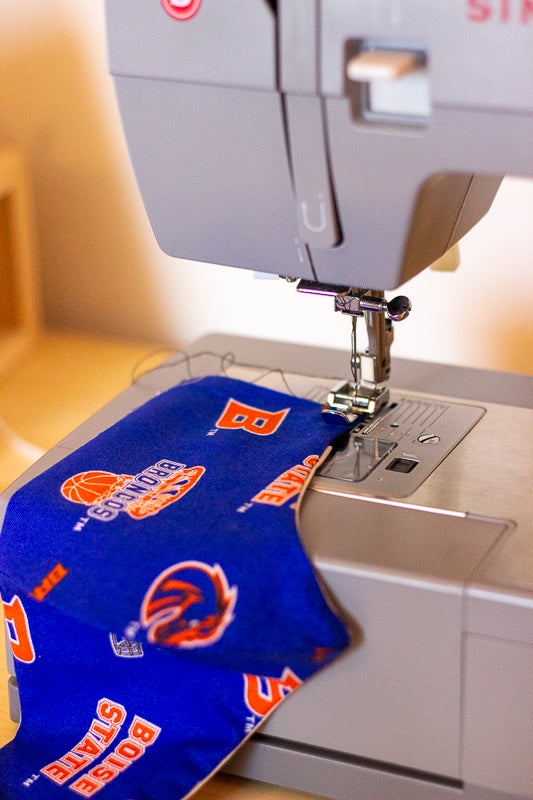
3) Do the sewing
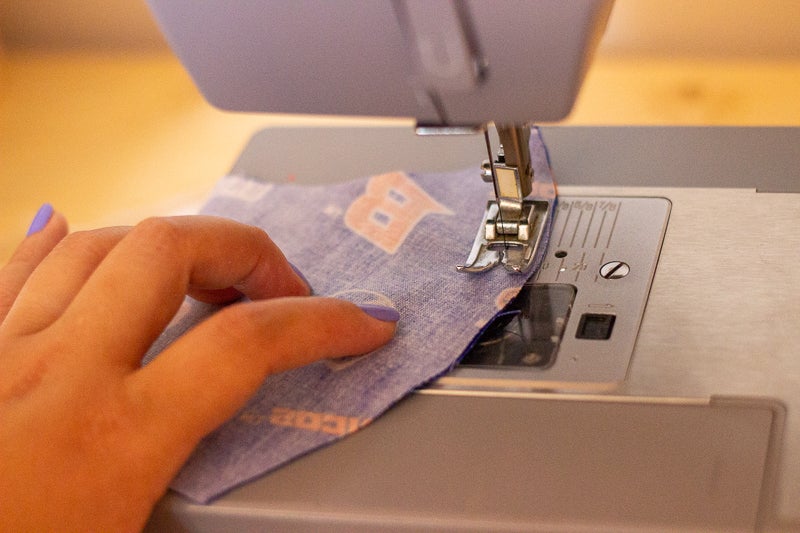
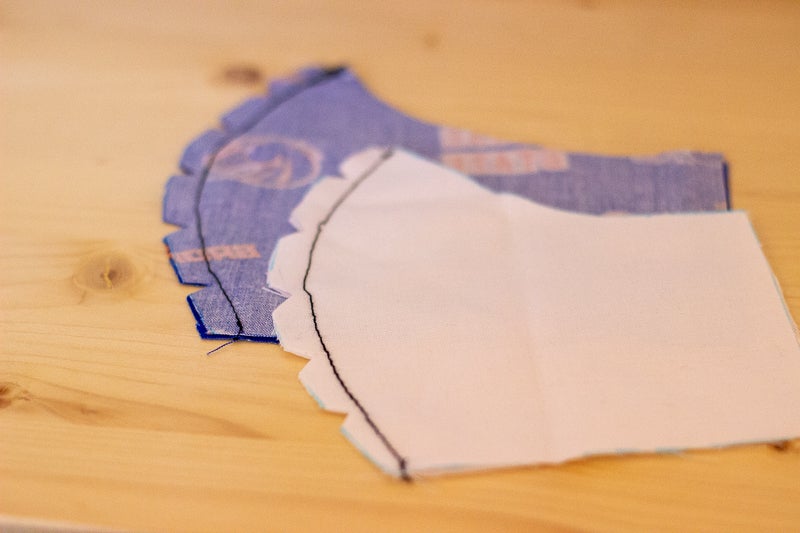
Take your two pieces of main fabric and face the “right” sides, the sides that will face outwards, together. Sew the outer curve, the part that will go over your mouth, at the ⅜” allowance line. Do this to both the main pieces of fabric and the lining. Cut five triangle shapes along the excess fabric around the both of the curves that you just sewed – this will help the fabric fold and not bunch up later on. Then, fold down where you have cut the triangles on the lining and iron it flat so it’ll stay out of your way.
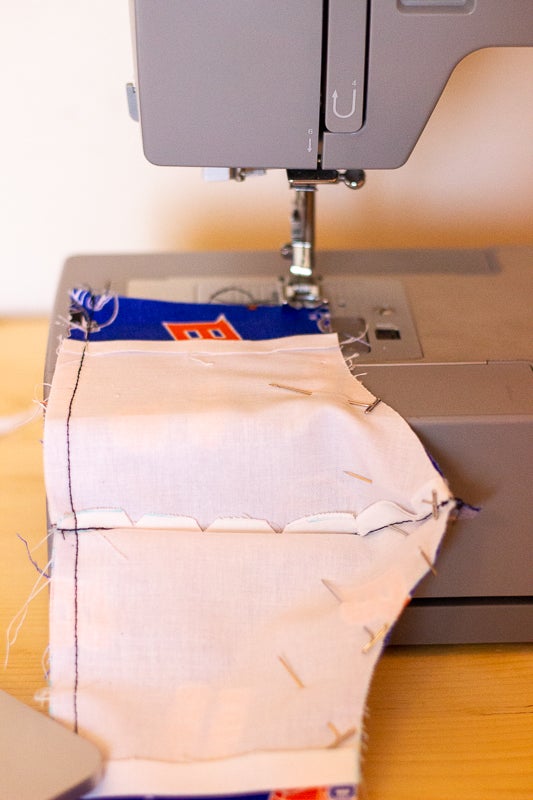
Now, unfold your panels, lay them flat, and place the “right” side toward yourself. Cover it with the lining panel and make sure it’s straight. Pin the pieces together so they don’t move, and sew across the entire top and bottom along the ¼” line from your template. Don’t do the sides just yet.
Flip your fabric inside out, so now the “right” side is correctly facing out. Iron it again so everything lays clean and flat and is easier to sew. Stitch along the top and bottom of your covering again at the ¼” seam allowance from the pattern. Now, everything is sewn except for the sides. You should have extra main fabric left on both sides (1 inch on each side), which will hold your elastic bands.
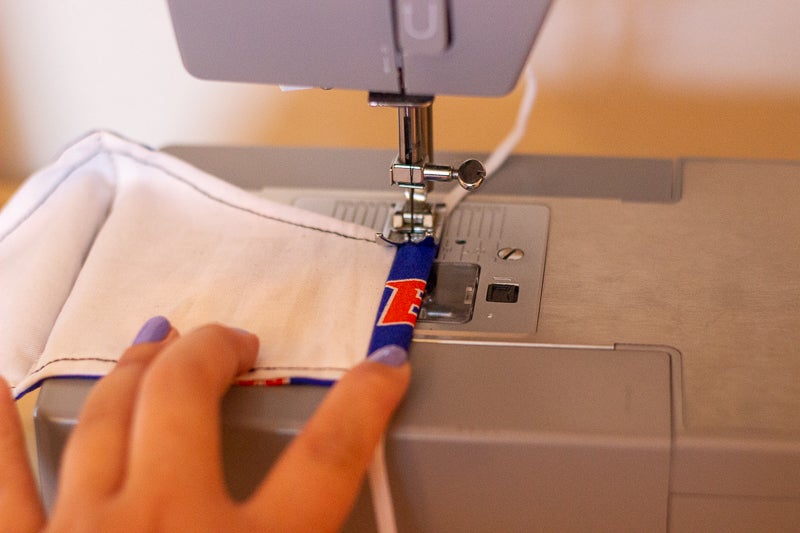
4) Attach the elastics
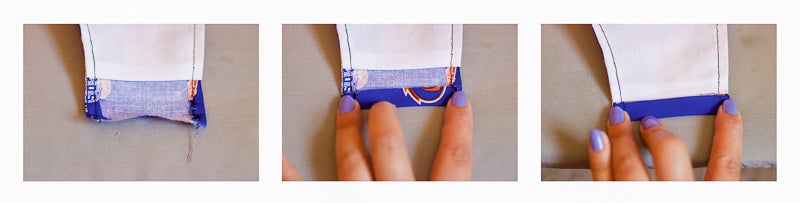
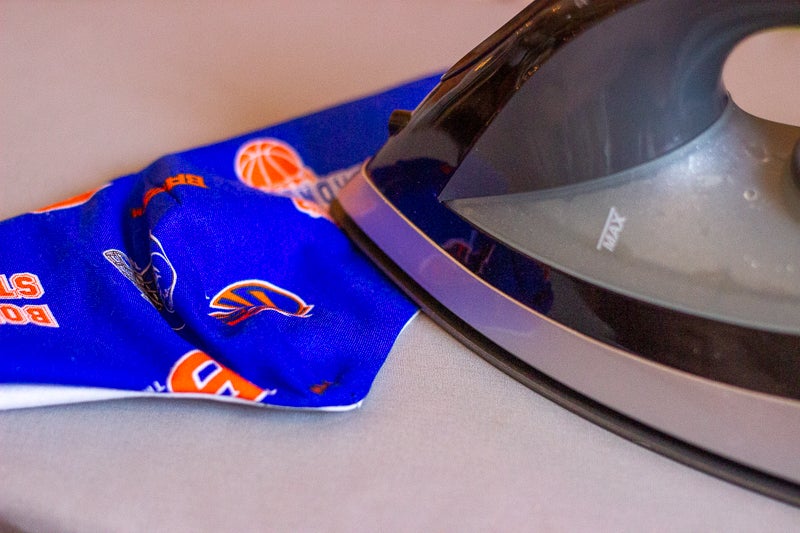
Take the extra fabric from the sides and fold it inward in thirds so it rolls onto itself. You may want to iron it so you can clearly see where to sew. Your main fabric should meet – but not overlap – the lining fabric. Insert your elastic and sew the main fabric to itself once it’s cleanly folded into thirds around the elastic. Make sure you’re only sewing the extra main fabric, not the lining, otherwise you’ll lose your pocket for inserting filters.
Now sew or knot your elastic bands together and then slide them so the connection is hidden within the fabric. And you’re done! You sewed a facial covering!
5) Add a filter
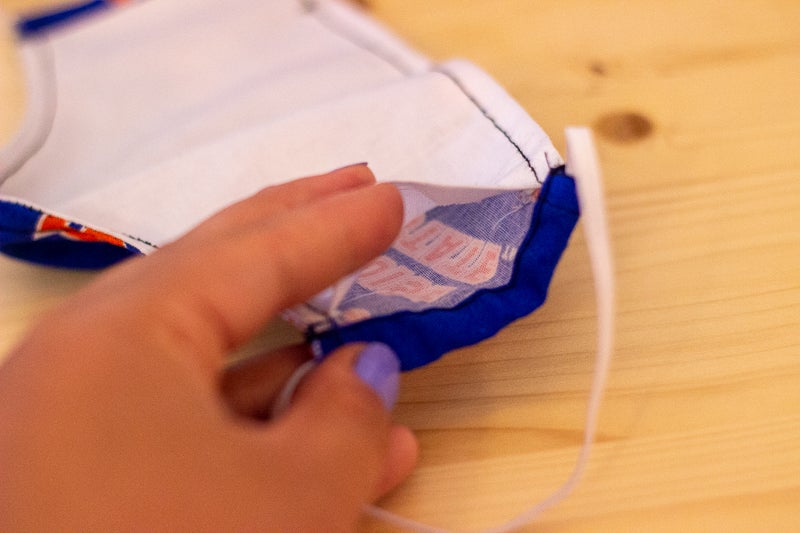
Notice the lining isn’t sewn to the fabric on either end, so you can add a filter to the center of the facial covering if you want to. This way, you can use reusable or disposable filters and remove them as needed.
5 ½) Show off your great work!
Enjoy your handmade facial covering and make sure to share pictures with us on Instagram @boisestateuniversity