TinkerCAD can be used to create 3D objects to later be 3D printed. Because of its simple design and ease of use, TinkerCAD is best suited for creating very simple objects. This might include making an object with simple geometries, such as a bunch of rectangles and spheres, making a simple modification on an object, like a hole, or combining two objects together. While it is a very simple program, it is still capable of great things!
To start making objects with TinkerCAD, we will start small and just make a box with certain dimensions. In the workplane, on the right hand side there is a list of basic shapes, such as a box, cylinder, sphere, and more. To make a box, or any other rectangular/cubic shape, click the box on the right and drag and drop it into the work plane. This will place a box with the default dimensions into the workplane.

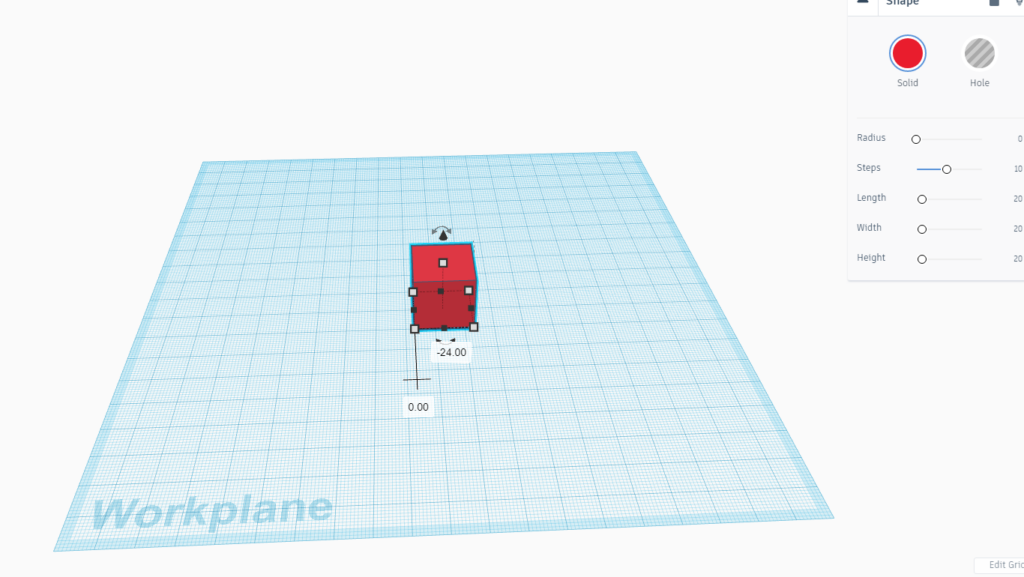
When the box is selected, it will show some black and white squares, along with arrows to indicate movement and rotation. Simply clicking and dragging the box will move it around the workspace. Click and dragging the black arrow on top of the box will move it up and down. The four white squares on the corners of the box can be clicked and dragged to change the length and width of the box, much like resizing an image. You can also hold shift while dragging a white square to keep the same ratios, which will scale the box uniformly in all directions. The white square on top of the box can change the height of the box by clicking and dragging.
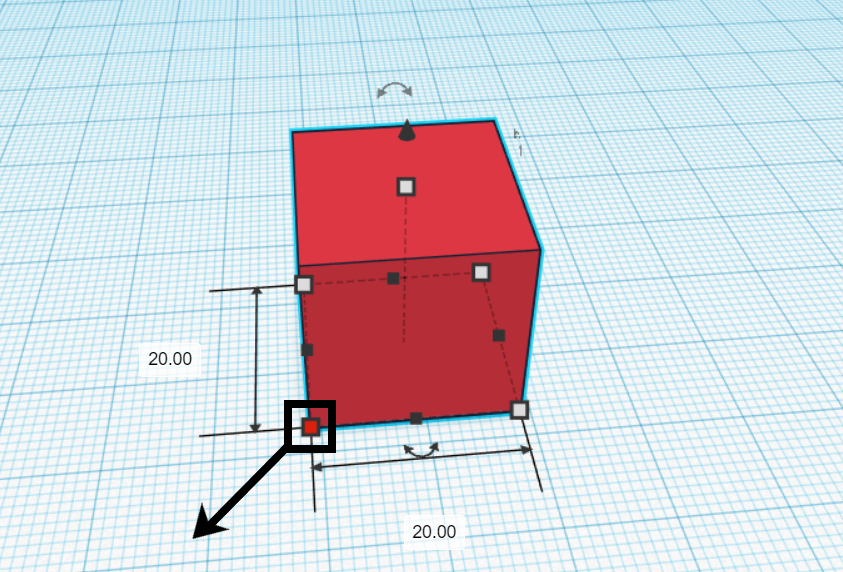
The smaller black squares on the edges of the box can also be used to change the width and length of the box, but it will only change one dimension at a time.
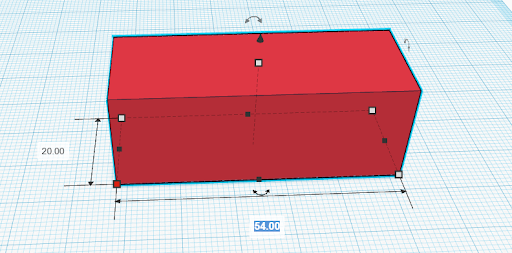
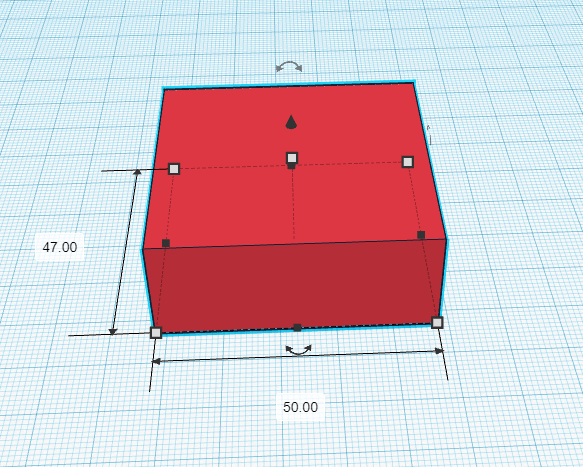
While clicking and dragging to get a basic shape of a box, it might be better to input specific dimensions for the box. When you click on any of the squares to change the dimensions of the box, it will bring up text boxes with numbers in them. These represent the dimensions of the box. To change them, simply click the text box and enter the specific dimension. TinkerCAD defaults to millimeters in measurements. This can be changed in the bottom right of the workplane, but millimeters works best for most applications in the MakerLab.
This is the basis of creating objects in TinkerCAD! There are many different shapes to use in TinkerCAD, such as boxes, spheres, cylinders, and more. These shapes can be combined to make some more complex structures, which will be explained in a later tutorial.