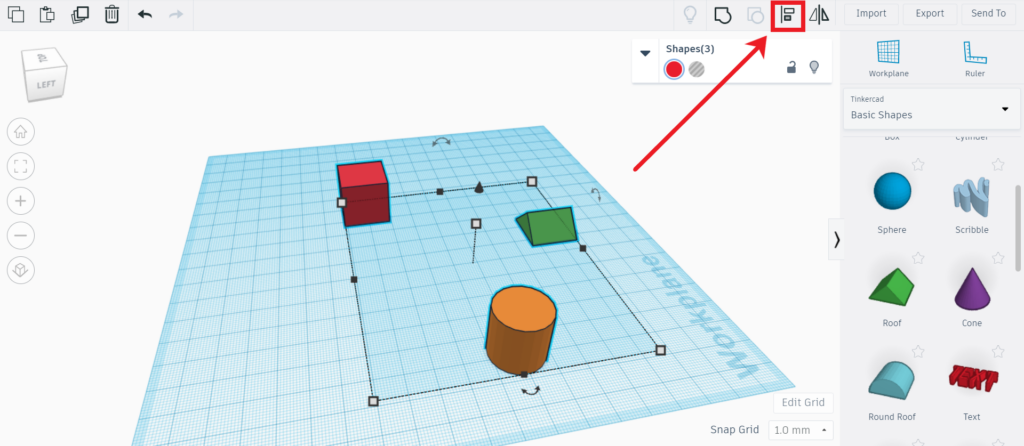
The align tool is used to quickly position objects aligned to each other. To use the align tool, you will first need at least two objects to align. Select all the objects to be aligned by holding shift and clicking on each object. With all the objects selected, click the “Align” button in the top right of the workspace. The button looks like a line and two shaded rectangles by it.
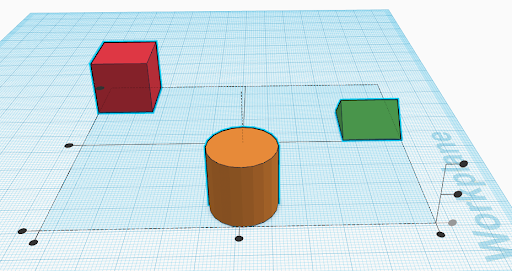
This will change the view to show a sort of grid between the objects. The circles on the grid represent the axis to align the objects. Hovering over a circle will show a preview of what the alignment would look like.
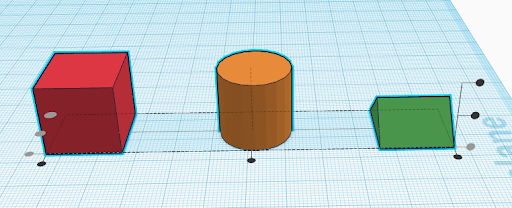
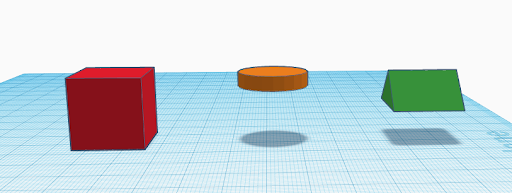
If I wanted all of these objects aligned in a line where the box is to the left, cylinder in the middle, and the roof to the right, clicking the circle in the middle left will position the objects in that manner.
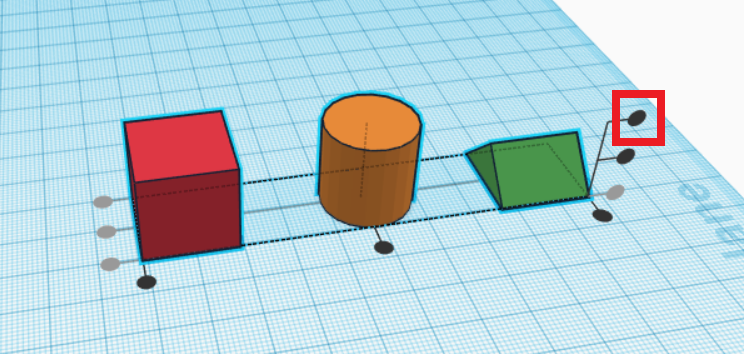
There is also the option to align objects on the Z axis (based on their height). Doing so would raise the top of all objects to the same level, and the level they are raised to depends on the circle selected. This is useful for quickly ensuring all objects are at the same height.
The align tool is very useful when combining multiple objects together, referencing objects, and just making your workspace look neat!