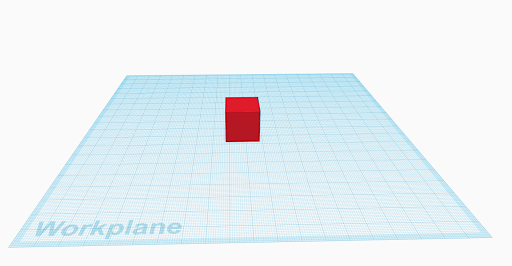
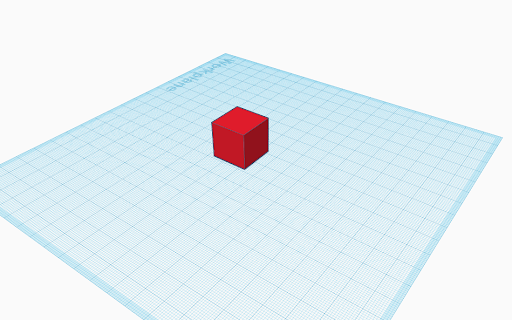
When you create a new design in TinkerCAD, it will show an empty view of the workplane. The workplane is the space where you will create and modify objects. Being able to effectively use the workplane is just as useful as being able to create and modify shapes. For demonstration purposes, drag a box onto the workplane. To rotate the view of the workplane, hold the right mouse button and rotate your mouse.
The scroll wheel can be used to zoom in/out on an area of the workplane. An alternative to using the mouse is using the buttons on the top left side of the TinkerCAD workspace. These buttons show, in order, a cube with words like “Front” and “Right” on them, a home button, fit all view, zoom in, zoom out, and orthographic/perspective view.
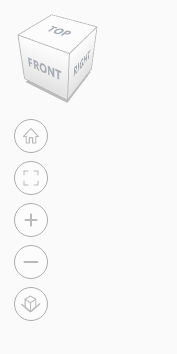
Hovering your mouse over the cube will highlight an area on the cube. When clicked, it will orient your camera to that view. The home button will return your camera to the original position, which focuses on the middle of the workplane. The fit all button will zoom in/out to get a clear view of all active objects on the workplane. The bottom button, which changes orthographic/perspective, changes the view of the workspace to fit an orthographic (flat) view or a 3 dimensional perspective view. TinkerCAD defaults to the perspective view, and it is easiest to use TinkerCAD in this view.