- Sign into Perceptive Experience with your BoiseState username and password.
- Based on your security, you will see different tiles on the sign in screen. Click on the tile corresponding with where you want to create the filter: “Documents,” “Workflow” or “Tasks.”

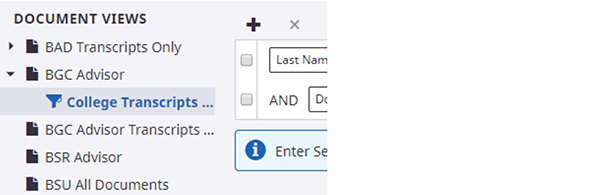
- Select the appropriate View, then click in the search bar to add criteria (constraints).
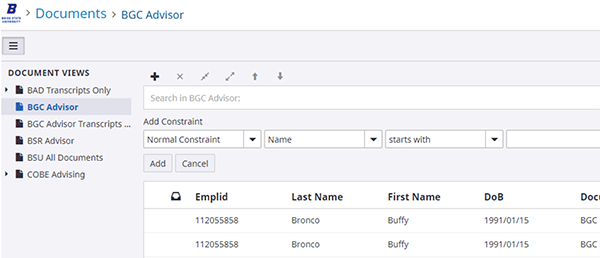
- Add the appropriate criteria under “Add Constraint.”

- The two most common constraints are Normal and Prompted:
- Select “Normal” for a fixed criteria, such as “Document type equals BGC Transcript – College Final.”
- Select “Prompted Constraint” for variable criteria, such as “Emplid equals [Insert Value].”

- Once you have input the values for your constraint, click “Add.” The criteria will be added to your search bar.
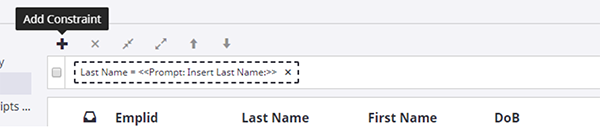
- Click the “+” button to add additional constraints.
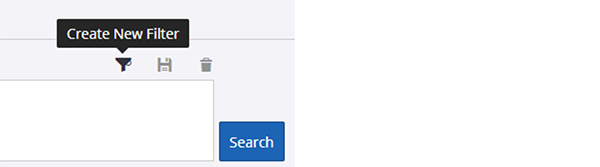
- Once all desired constraints have been added, click the “Search” button to return only filtered results.

- To save this filter for future use, click the “Create New Filter” icon.
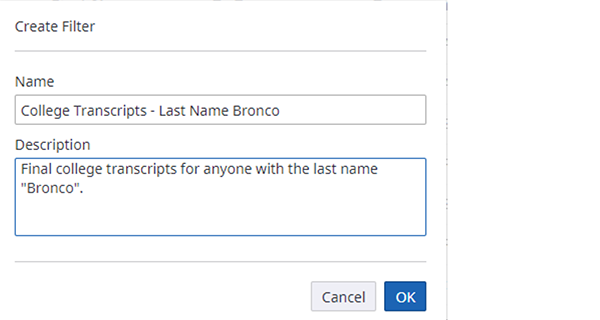
- Follow the prompts to name the new filter and give the filter a description.
- The filter will be saved. It is a private filter, so will only be viewable by you.