Here’s how to view and approve or deny tasks in Perceptive Experience.
- Sign into Perceptive Experience with your BoiseState username and password.
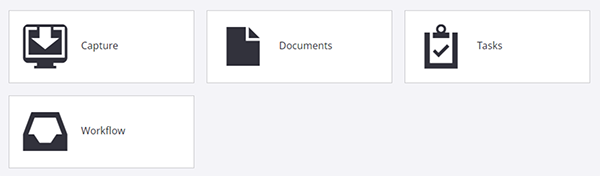
- Based on your security, you will see different tiles on the login screen. Click the “Tasks” tile to review and approve tasks assigned to you.
- Select “My Assigned” from the left menu to see the tasks assigned to yo
 Click on the task to open the document.
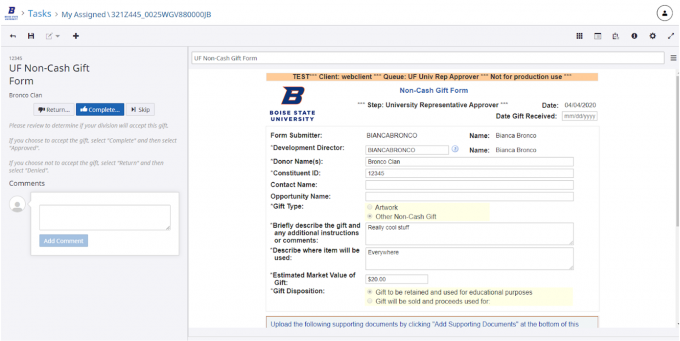
- If you need to add a document to the form before approval, make sure you have the Thumbnails viewer open in your display.
 Next, click the “+” button and select “Add After Page.”
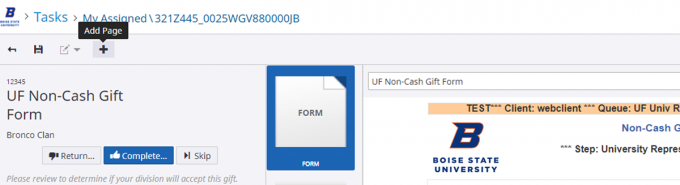 Select your capture source: “File” or “Scanner.” To choose a document from your computer, double click on “File” and select “Browse” to access your document. Click “Done” after selecting your chosen document(s).
 The file will show up as an additional thumbnail in the viewer. Click the “Save” button before continuing.
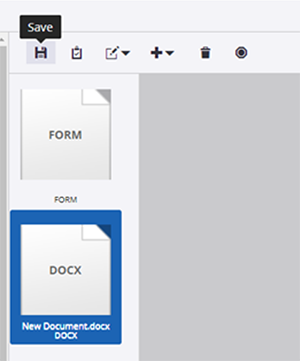
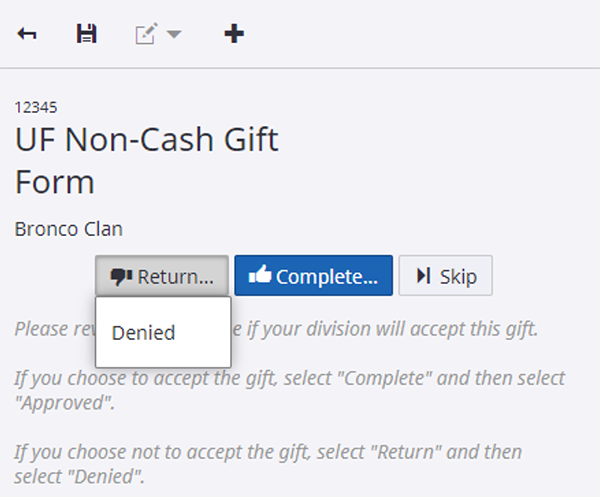
- Review and follow the instructions as listed in the blue box to the left of the document. Generally, to approve the document or route forward to the next reviewer, select “Complete” and then the appropriate reason. To Deny/Reject the document, select “Return” and the appropriate reason.